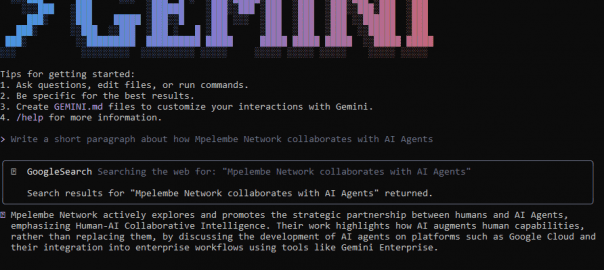
Nov. 2, 2025 /Mpelembe Media/ — The Gemini Command Line Interface (CLI) is an open-source AI agent that allows you to access Gemini directly from your terminal. It uses a “reason and act” (ReAct) loop with built-in tools and local or remote Model Context Protocol (MCP) servers to handle complex tasks like fixing bugs, creating new features, and improving test coverage. Beyond coding, it’s a versatile tool for content generation, problem-solving, research, and task management.
Here’s how you can get started and use Gemini CLI:
1. Getting Started and Setup:
- Cloud Shell: The Gemini CLI is available without additional setup in Cloud Shell.
- Other Environments: For other environments, you’ll need to refer to the Gemini CLI documentation for specific setup instructions.
- Activation: If you primarily work with web-based tools that use Gemini Code Assist or the command line, you can activate your Gemini Code Assist license (which includes Gemini CLI access) by:
- Selecting or creating a Google Cloud project.
- Enabling the Gemini for Google Cloud API in your selected project’s dashboard.
- Signing in to your terminal with the same Google Account linked to your premium subscription.
2. Using Gemini CLI Features:
- Agent Mode: Gemini Code Assist agent mode in VS Code is powered by Gemini CLI, offering a subset of its functionality directly within your IDE’s chat.
- To switch to agent mode in VS Code, open the Gemini Code Assist chat and click the “Agent” toggle.
- In IntelliJ, select the “Agent” tab in the Gemini tool window.
- In agent mode, you can ask Gemini to complete high-level goals and complex tasks.
- You can also configure tools for agent mode, including built-in tools and MCP servers.
- Commands in Agent Mode (VS Code):
/tools: Displays a list of available tools in your agent mode session./mcp: Lists configured Model Context Protocol (MCP) servers, their connection status, server details, and available tools.- You can also use built-in tools like
grep,terminal,file read, orfile writein “Yolo mode”.
- Context Files: You can create context files (e.g.,
GEMINI.mdorAGENT.md) in your project to provide the agent with rules, style guide information, or other context to improve its responses. - API Key (Optional): If you exhaust your daily quota for Gemini Code Assist agent mode, you can continue using the service by providing a Gemini API key or a Vertex AI API key in your IDE’s
settings.jsonfile.
3. Quotas:
Gemini CLI usage is subject to quotas, which are shared with Gemini Code Assist agent mode. The specific quotas depend on your plan:
- Standard: 60 requests per user per minute and 1000 requests per user per day.
- Premium (Monthly/Yearly): 120 requests per user per minute and 1500 requests per user per day.
- Enterprise: 120 requests per user per minute and 2000 requests per user per day.
For more detailed information, you can refer to the official Gemini CLI documentation.